|
📍前言
数据库实验三,实验要求做一个可视化的界面,鉴于之前有过相关web网页的学习经验,决定采用
前端:三件套(html+css+js)后端:node.js(有一个专门的包可以控制mysql数据)数据库:mysql 8.0版本(学校用的oracle,我感觉可视化操作不太行)
本文先介绍安装mysql,并且运行一些基本sql语句,创建基本数据库数据
📍安装
安装教程:黑马node.js教学视频中mysql的安装 教程配套的资料:mysql 8.0
教程很详尽,相信能成功下载,如资料遇不可下载的情况请评论留言,我可以放到网盘
📍mysql软件基本使用
先熟悉一下基本界面,还是看教程(7min!很短的!):mysql workbench的基本使用
📍打开软件的准备工作
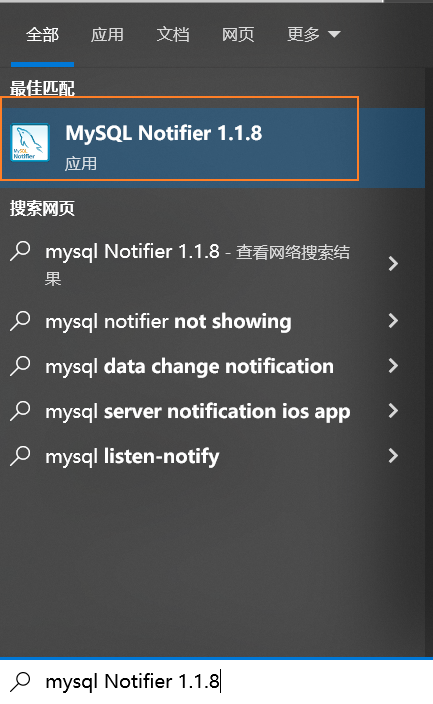
1. 先打开↓
2. 确保它的状态是↓,如果不是,点击图中所示位置进行启动 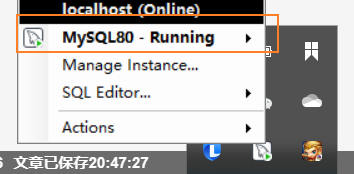 3. 打开workbench↓
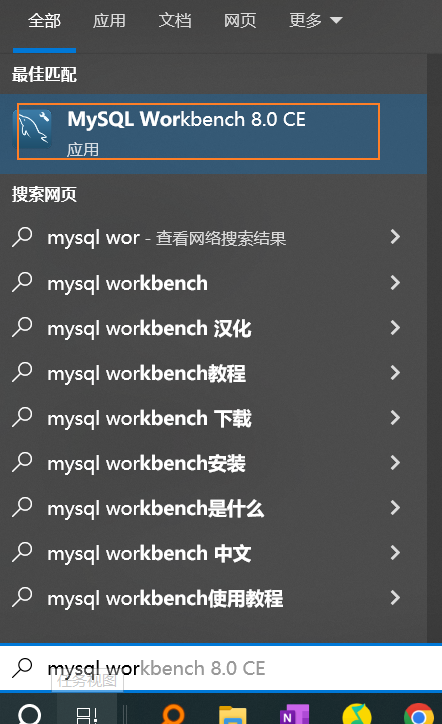
 跟着上述安装教程的话,这里root用户密码就是admin123 跟着上述安装教程的话,这里root用户密码就是admin123 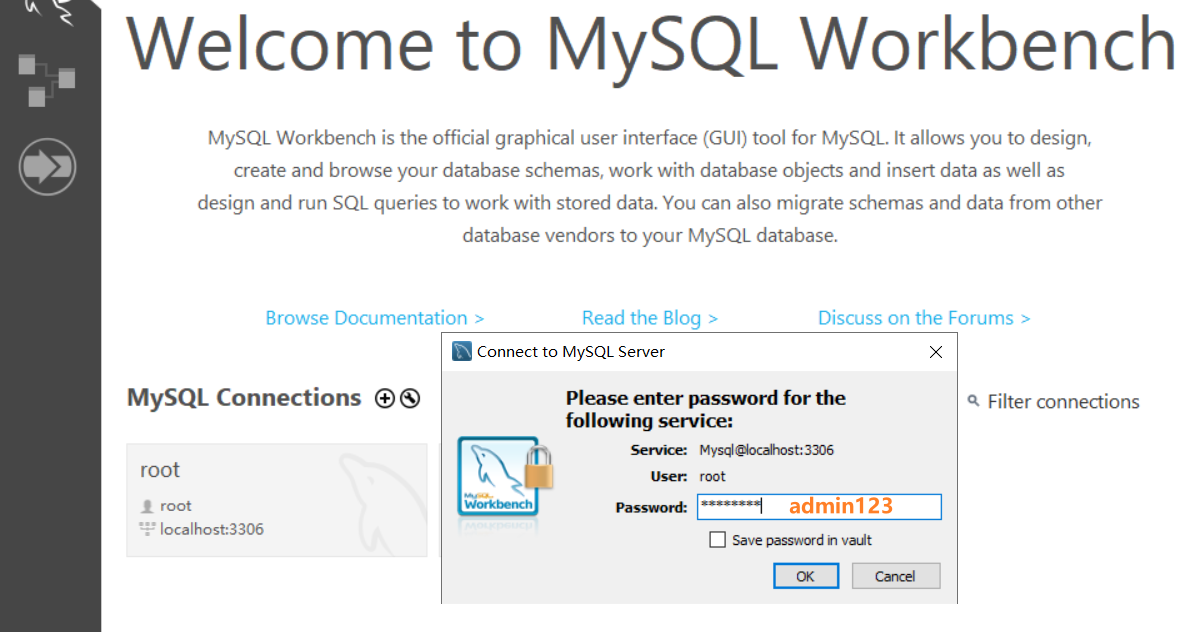
📍运行基本sql语句
新建一个query tab(可以快捷键ctrl+T)
1. 创建用户+创建schema+赋权 (lhj@localhost 和 密码123 可以自定义)
# 创建用户
CREATE USER lhj@localhost IDENTIFIED BY '123';
# 创建一个schema
CREATE SCHEMA `test3` ;
# 给用户赋予对于schema的权限
GRANT CREATE,ALTER,DROP,INSERT,UPDATE,DELETE,SELECT ON mybigsqlwork.* TO lhj@localhost;
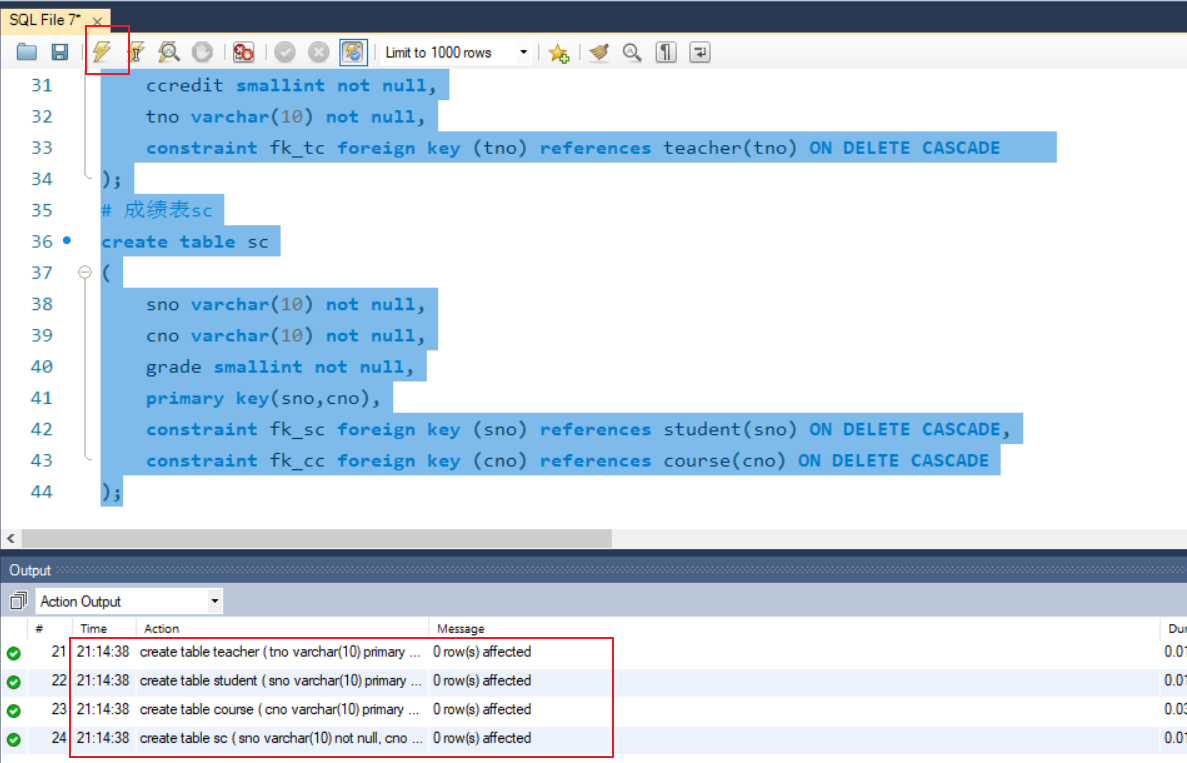
如图所示,输入sql语句后,先选中语句,点击“闪电”标志即可运行 
2. 创建基本表
先把图中所示的位置双击,让他变成黑色!,表示选中状态,接下来对这个schema进行操作 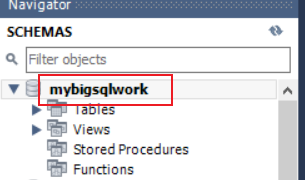
# 老师表
create table teacher
(
tno varchar(10) primary key,
tname varchar(20) not null unique,
tposition varchar(20) not null,
tsalary smallint not null
);
# 学生表
create table student
(
sno varchar(10) primary key,
sname varchar(20) not null unique,
ssex char(3) check(ssex in('男','女')),
sage smallint not null, # -32768~32767
pwd varchar(20) not null
);
# 课程表
create table course
(
cno varchar(10) primary key,
cname varchar(40) not null unique,
ccredit smallint not null,
tno varchar(10) not null,
constraint fk_tc foreign key (tno) references teacher(tno) ON DELETE CASCADE
);
# 成绩表sc
create table sc
(
sno varchar(10) not null,
cno varchar(10) not null,
grade smallint not null,
primary key(sno,cno),
constraint fk_sc foreign key (sno) references student(sno) ON DELETE CASCADE,
constraint fk_cc foreign key (cno) references course(cno) ON DELETE CASCADE
);
3.初始化数据
insert into teacher(tno,tname, tposition, tsalary) values('t20230001','周星驰','教授',20050);
insert into teacher(tno,tname, tposition, tsalary) values('t20230002','成龙','教授',25000);
insert into teacher(tno,tname, tposition, tsalary) values('t20230003','姜文','副教授',18000);
insert into teacher(tno,tname, tposition, tsalary) values('t20230004','林青霞','副教授',20050);
insert into teacher(tno,tname, tposition, tsalary) values('t20230006','章子怡','讲师',15000);
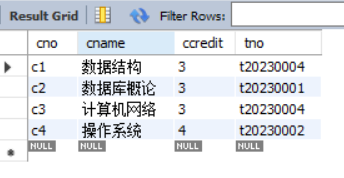
insert into course values('c1','数据结构',3,'t20230004');
insert into course values('c2','数据库概论',3,'t20230001');
insert into course values('c3','计算机网络',3,'t20230004');
insert into course values('c4','操作系统',4,'t20230002');
insert into student(sno,sname,ssex, sage, pwd) values('s20230001','五月天','男',22,'123456');
insert into student(sno,sname,ssex, sage, pwd) values('s20230002','周杰伦','男',18,'123456');
insert into student(sno,sname,ssex, sage, pwd) values('s20230003','张国荣','男',20,'123456');
insert into student(sno,sname,ssex, sage, pwd) values('s20230004','邓丽君','女',18,'123456');
insert into student(sno,sname,ssex, sage, pwd) values('s20230005','刘德华','男',21,'123456');
insert into sc values('s20230001','c1',88);
insert into sc values('s20230002','c1',59);
insert into sc values('s20230005','c1',61);
insert into sc values('s20230001','c3',88);
4. 创建视图
# view视图--连接四个表
CREATE VIEW vw_sc_course_student_teacher AS
SELECT sc.*, c.cname, c.ccredit, s.sname, t.tno, t.tname,tposition
FROM sc as sc
JOIN course c ON sc.cno = c.cno
JOIN student s ON sc.sno=s.sno
JOIN teacher t ON c.tno=t.tno;
5. 验证数据是否创建成功
SELECT * FROM test2.course;
至此,创建数据完毕 🧡🧡🧡接下来麻烦跳转下一节内容~👉👉👉数据库原理-实验三(2)–可视化交互网页展示–《配置node+运行页面》
|